EBPP Installation
Single-player Install
This section is for users who have little or no server administration experience and are trying to set things up for single-player use. This section omits a lot of important information for multiplayer setups and includes a lot of unnecessary information on how to do every step on the install process. This is intended to make it as easy as possible for novices to get started. If you’re an IT administrator trying to setup a multiplayer server, please navigate to the Advanced Install section for a more detailed and concise guide.
Windows Install
To get EBPP running on Windows, you will first need to install Docker Desktop, which gives you an easy visual interface for managing your EBPP instance. It is technically not necessary, but will minimize the amount of time you need to spend in a command line interface. Instructions for installing Docker are here. You will need to meet the minimum requirements for Docker to run and you will need to enable virtualization features on Windows. If you cannot get Docker running and don’t have server administration experience, you can try running EBPP from the command line, or contact your company or educational institution to set up a server for you to use instead.
Once you’ve set up and launched Docker, you will need to build the EBPP image. Open your command prompt by hitting the Windows key and typing “cmd” into the search bar. This should open up your command prompt. Once there type in the following command:
docker build github.com/ElectricBlocks/ebpp -t ebpp
This will launch the build process. Once the command is finished executing, open up Docker and click on the “Images” tab on the left hand side of the navigation bar. If the build completed successfully, you should see a screen that looks something like this:
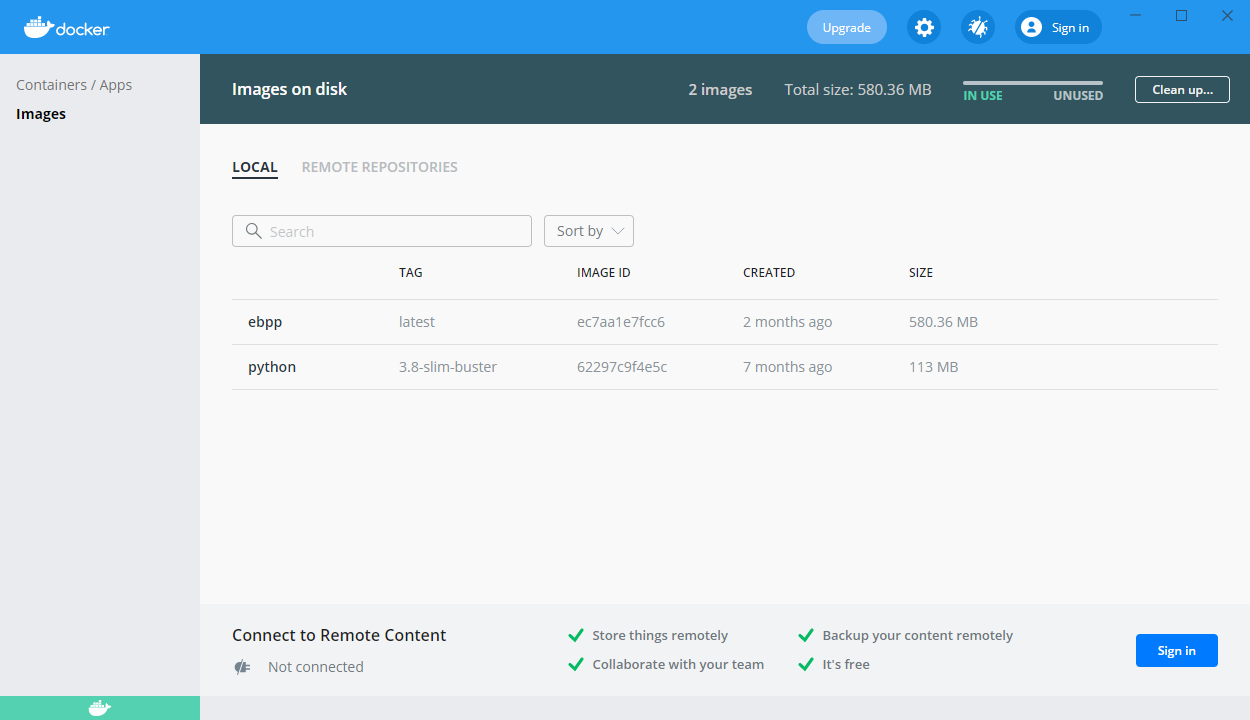
Locate the EBPP image and move your mouse to the far right hand side of the row to display the options and run button:
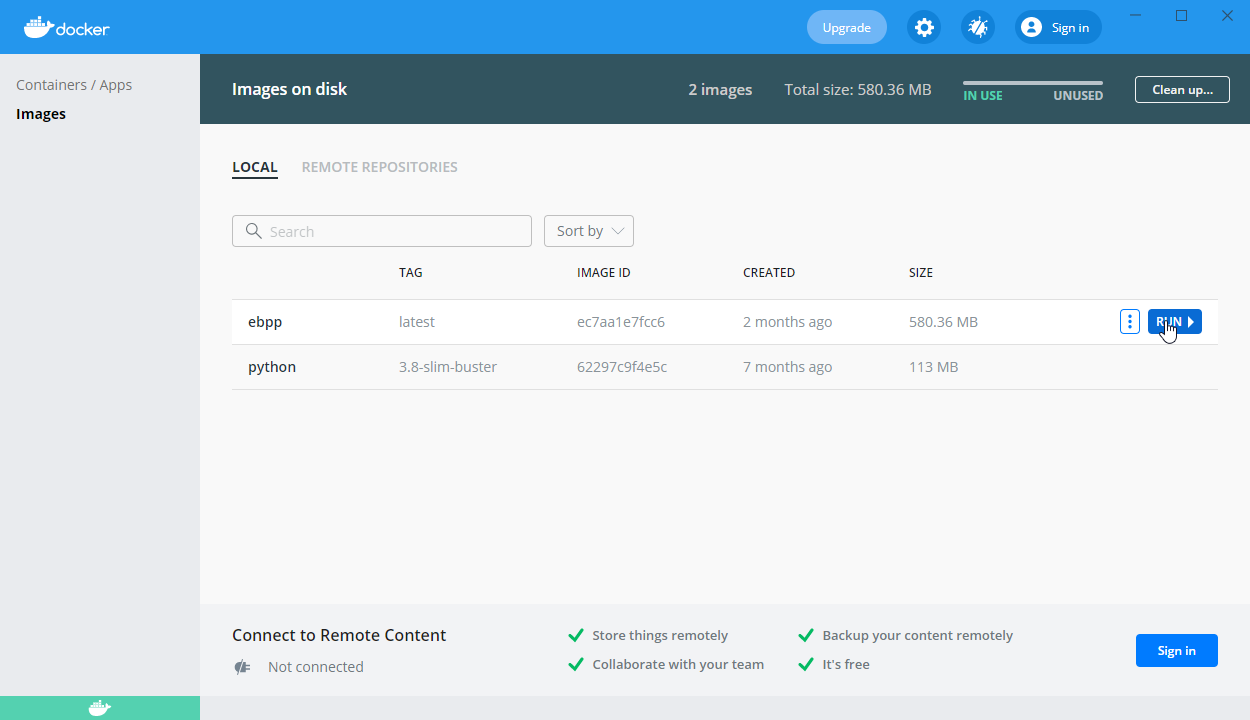
Click run and a popup window will appear for you to create a new container:
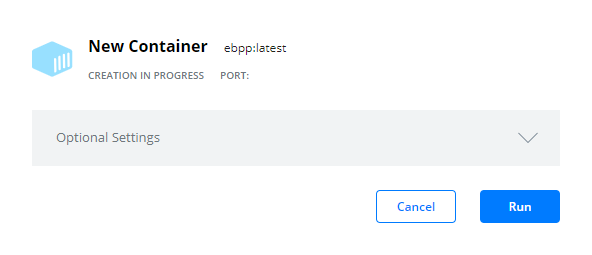
Click the “Optional Settings” dropdown to expand the menu. At minimum, you need to enter the host port (should usually be 1127). You can give the container an optional name if you would like. If not, a name will be randomly generated for the container. No other values should be set:
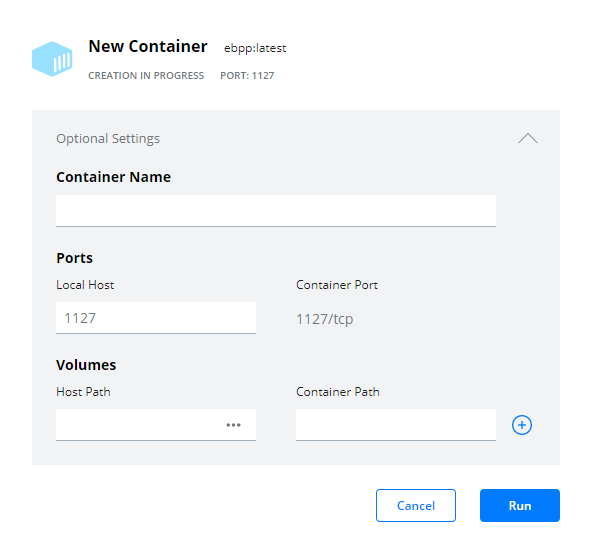
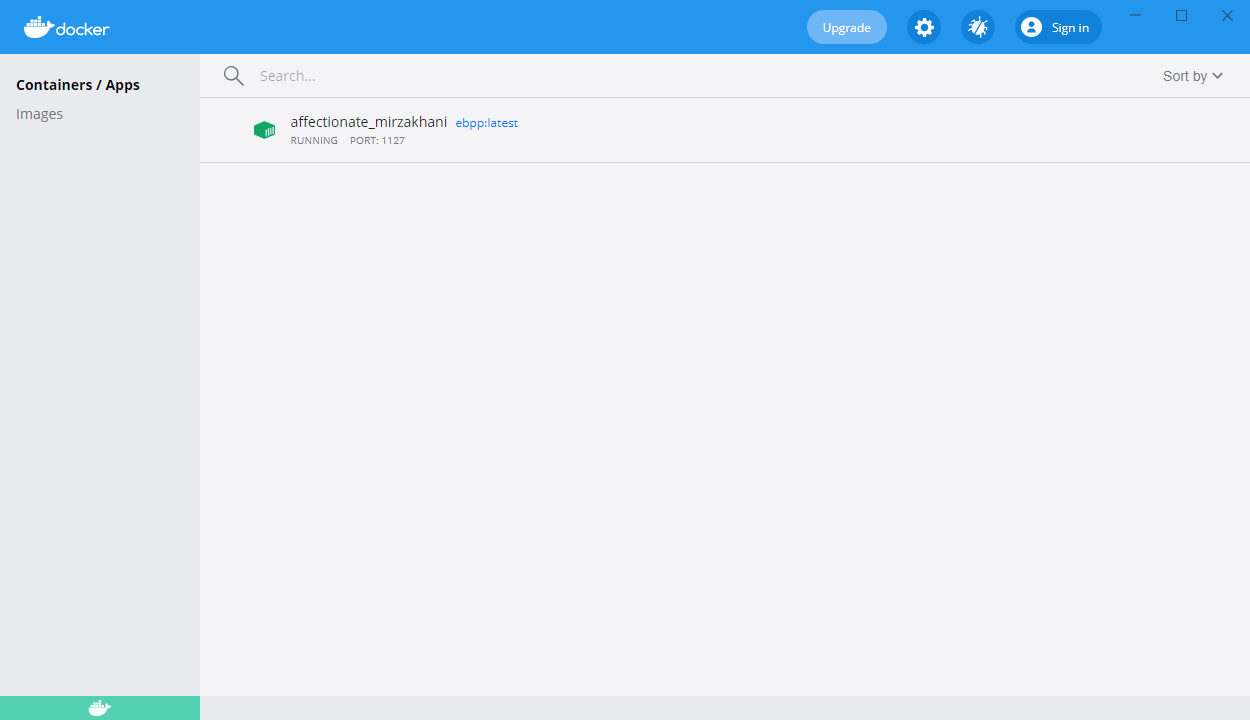
Click Run and a new container will be generated and you will be brought to the “Containers / Apps” panel. The EBPP container should appear in the list and should automatically start:
To verify that EBPP is working, you can click on the container name to be brought to the logs for this container. The output should say something like:
No arguments passed. Using defaults.
* Serving Flask app "ebpp" (lazy loading)
* Environment: production
WARNING: This is a development server. Do not use it in a production deployment.
Use a production WSGI server instead.
* Debug mode: off
* Running on http://0.0.0.0:1127/ (Press CTRL+C to quit)
At this point, EBPP should be installed and running! You can now launch your modded Minecraft game on the same computer and should be able to connect.
Mac Install
Installation on a Mac is essentially the same as the Windows install except that you must use Docker Desktop for Mac. A guide for how to do this can be found on this page. Once you have Docker installed, you will follow essentially the same steps except you will need to run the build command in your Terminal instead of in the command prompt.
Linux Install
Unfortunately there is no Docker Desktop application for Linux. Please refer to the advanced install guide below.
Advanced Install
This guide covers installation for advanced users. If you’re trying to set up EBPP for multiplayer servers, then you’re in the right place.
When installing EBPP you have two options. The first uses Docker to automate the process. The second option is manual installation. We highly recommend using Docker over a bare metal installation.
Docker Method
First make sure you have Docker installed on your computer/server. Then build with this command:
docker build github.com/ElectricBlocks/ebpp -t ebpp
Once the docker image is finished building, you can run with the command:
docker run -d -p 1127:1127 ebpp
Manual Method
To install manually, you will need to have Python 3.8+, pip, and git.
git clone https://github.com/ElectricBlocks/ebpp.git
cd ebpp
pip install -r requirements.txt
Once the Python packages are installed, you can run with the command:
python ebpp.py
Advanced Information
Configuration
EBPP uses environment variables for configuration. The easiest way to load these variables is to create a .env file in the EBPP directory. The environment file will not overwrite any environment variables and you may set them how you like. The file should contain the contents:
EBPP_HOST=0.0.0.0
EBPP_PORT=1127
These defaults should work fine, but you should modify them to fit your setup. Once you have configured and launched EBPP, you can test to ensure it is working and accessible by visiting http://[EBPP_HOST]:[EBPP_PORT]. The API endpoint is http://[EBPP_HOST]:[EBPP_PORT]/api.
Security Considerations
EBPP is NOT designed for public facing scenarios and has NO built-in security features. For this reason, we highly recommend that you install EBPP inside of a Docker container or some other virtualized environment. EBPP executes code based on packet input and so it is highly probable that there is a remote code execution vulnerability somewhere in there. We have never been security audited, nor are we likely to be anytime soon.
The default configuration binds to 0.0.0.0 which accepts requests from any address regardless of source. This is the easiest to use, but also insecure. If you are running a Minecraft server, we recommend that you bind EBPP to the loopback address or an isolated Docker network address to ensure that EBPP is only accessible by the Minecraft server itself. We cannot make any guarantees about the security of this software, particularly if it’s not isolated from network access. If you are running EBPP on the same virtual machine as the Minecraft server, you must run EBPP as a different user that doesn’t have file permissions to read or write from anything non-essential. The user will need read access to your normal system files and should not have write access to anything.
If you install EBPP on a separate server than the one hosting the Minecraft server, we recommend that you configure EBPP to only be accessible by LAN IP. Making EBPP only available through an institutional VPN is probably a good idea. We also recommend setting up strict firewall rules to ensure that communication only occurs between EBPP and your various Minecraft servers.
If you do choose to run EBPP in a public-facing setting, you will need to take several measures to protect your security and performance. First of all, EBPP should be run in a virtual machine or other resource-limited container. That virtual machine should be in a DMZ that doesn’t have access to any other I/O or network resources. EBPP doesn’t have any built-in authentication, encryption, or scaling mechanisms. To deal with this, you should setup a standalone WSGI container such as Gunicorn or uWSGI which is only accessible through a reverse proxy like Apache, Nginx, or Caddy. You may want to also utilize rate-limiting or even an intrusion detection system like Fail2ban. While EBPP can be easily set up to utilize SSL through a reverse proxy, the Electric Blocks mod is not currently designed to support this. While a MITM attack seems unlikely, it is possible that confidential information could be leaked since no encryption is present. If this is a concern, do not setup EBPP in a public-facing setting.